1.09.2012

Sauerkraut Chocolate Cake, or What to Do with Leftover Sauerkraut

I am not a believer in New Year's resolutions. I find that most people set up unrealistic expectations for themselves, only to end up disappointed. Don't get me wrong, I applaud those who are able to keep their resolutions, but for myself, I find that it is better to continually make small goals and keep working to achieve those goals. For example, I would really love to start blogging more frequently, but I also know that from now until June 9, I will be crazy busy with wedding planning, so I will not set a rigid goal until after that time.


Enough about resolutions, and onto how to use up all of the leftover sauerkraut in your fridge. Growing up in Central Pennsylvania afforded me the lovely chance to always eat pork and sauerkraut on New Year's Day. It was a family holiday and tradition. The only problem with the meal was well, no one seemed to love the sauerkraut part, so there was always a plethora of the fermented cabbage leftover.


Last week I stumbled across a chocolate cake recipe that incorporated sauerkraut, and after an initial "that can't possibly be good" thought, I decided to give it a whirl. It was this or the kraut was getting pitched in the garbage. The recipe came from a reputable source, so I believed that it would turn out well. After putting together the batter, popping it in the oven, and making the chocolate sauce, I was convinced that this would be a terrific chocolate cake.

I was not mistaken. The chocolate bundt was one of the best I have ever had, and the chocolate drizzle sauce was sensational. Come January 2nd next year, I will most definitely know what I will be doing with my leftover kraut!


Chocolate Sauerkraut Cake
from Scharffen Berger

INGREDIENTS

2/3 cup sauerkraut
½ cup SCHARFFEN BERGER Natural Unsweetened Cocoa Powder
2 cups all-purpose flour
1 teaspoon baking powder
1-1/4 teaspoon baking soda
¼ teaspoon salt
10 tablespoons unsalted butter
1-1/2 cups granulated sugar
3 eggs
1 teaspoon vanilla extract
1 cup low-fat milk- I used 2% organic milk

For the Glaze
INGREDIENTS
4 ounces SCHARFFEN BERGER 70% Cacao Bittersweet Chocolate- I used Ghiradelli 60%
4 tablespoons unsalted butter
1 teaspoon light corn syrup

PREPARATION

Preheat the oven to 325 degrees F. Butter and flour a Bundt pan. Tip- Use cocoa powder to dust the pan instead of flour for a chocolate cake

Put the sauerkraut in a bowl of cold water. Squeeze it out with your hands a few times and drain. Do not squeeze all the moisture out. Chop the sauerkraut into fine pieces.

Sift together the cocoa powder, flour, baking soda, baking powder and salt.

In the bowl of an electric mixer, cream the butter and sugar until light and fluffy.

In a separate bowl, whisk together the eggs and the vanilla. Slowly add the egg mixture to the creamed butter and sugar.

Add half the cocoa/flour mixture. Beat until well combined. Add the milk. Add the remaining cocoa/flour mixture.

Finally add in the chopped sauerkraut.

Transfer the batter to the prepared pan and bake for 45 minutes or until a tester comes out clean and the cake begins to come from the sides of the pan. Cool completely on a rack. Invert onto serving plate when thoroughly cooled.

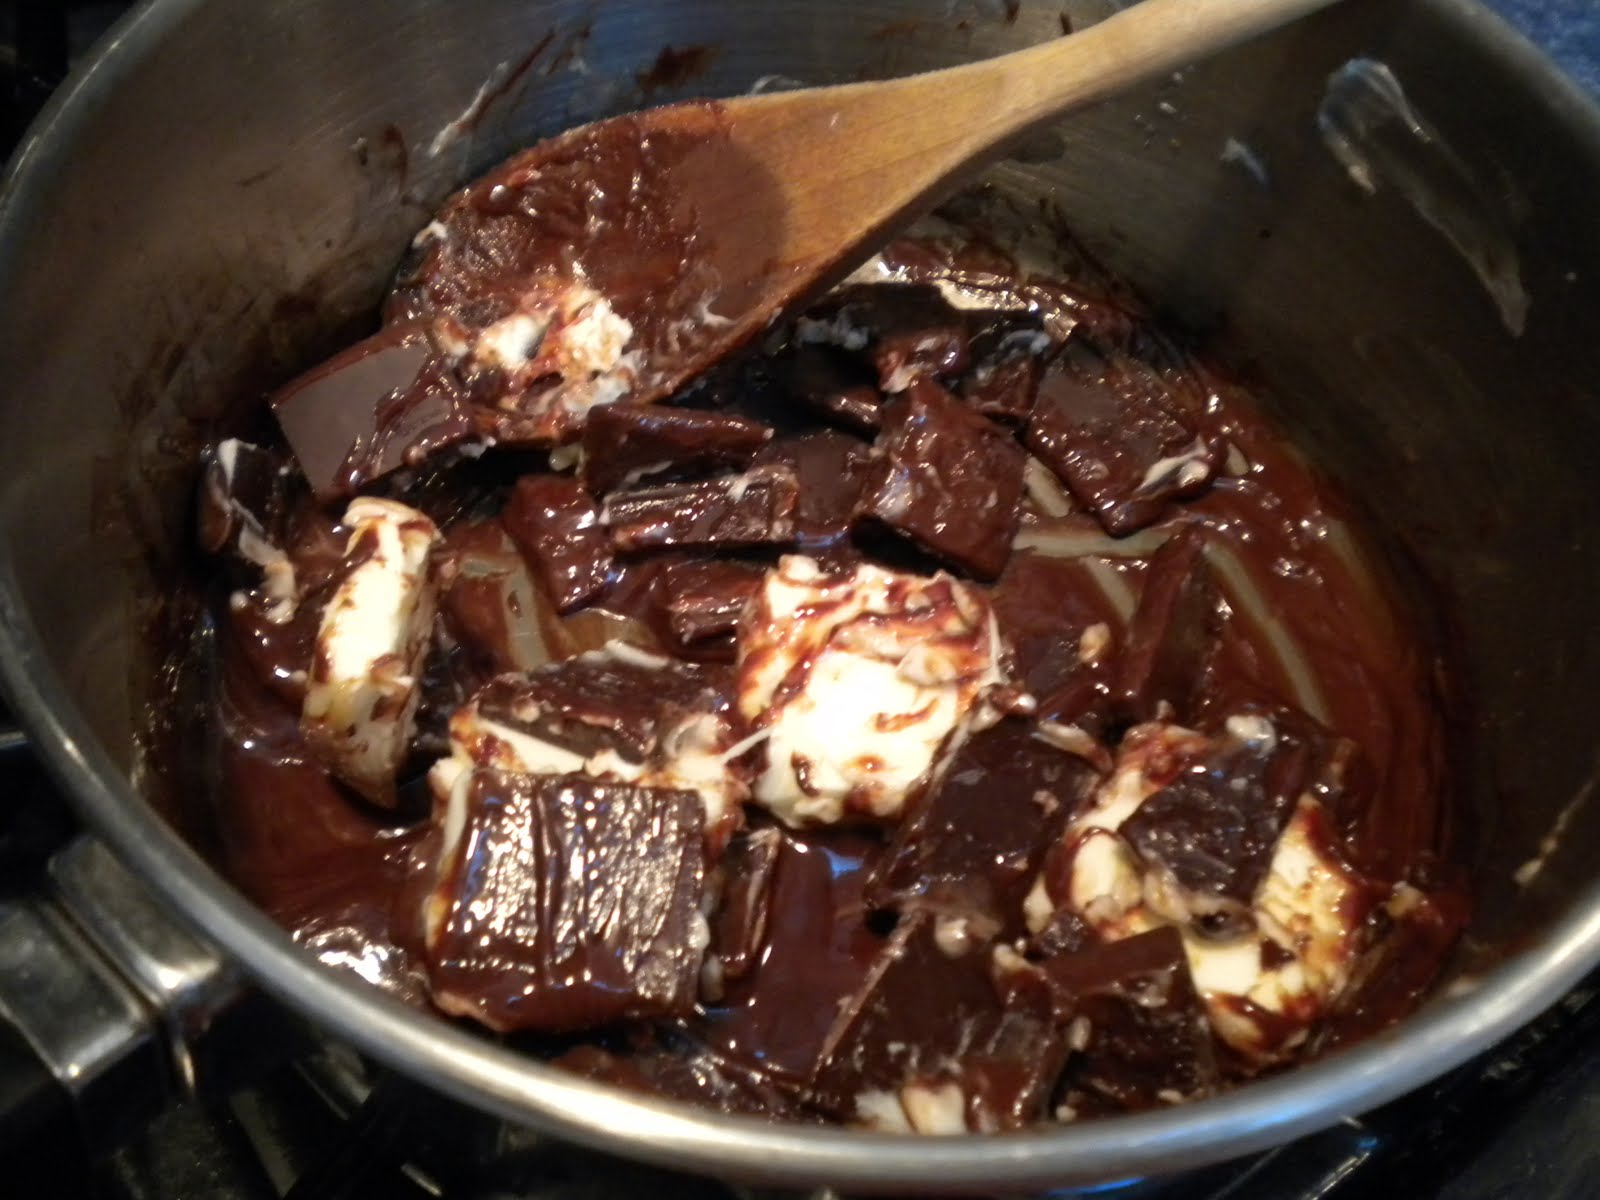
To make the glaze, combine the chocolate, butter and corn syrup in a small saucepan. Heat over medium heat, stirring, until thoroughly melted and combined. When the sauce is cooled to room temperature and is still pourable, glaze the entire cake or by piece.

12.20.2011

Chicken Tinga Tacos

With all of the craziness of the holiday season, posting has been a little lighter than normal. Fortunately, I have been cooking the entire time- Christmas cookies, a very belated Friendsgiving, and this recipe for Chicken Tinga Tacos. I have mentioned before that I subscribe to numerous cooking magazines, and in effort to put many of the recipes to use, I have made a pact to try at least 1 recipe per week from a magazine. This recipe was at the top of my list in recipes to try, and for good reasons.


The chicken tinga tacos are divine. Deliciously spicy, juicy, and seasoned well, they pair well with a slaw, some lettuce, or just on top of a salad. The recipe is very easy to prepare, and more importantly, can be made in a slow cooker if desired. I chose to follow the recipe word for word, but have had friends who made the dinner in a slow cooker. I also made it on a Sunday, and served it on a Tuesday. It actually tastes better after the first day. The recipe is a winner in my book, and I'll be using it quite frequently in the future as I have just received my first poultry share from John Crow Farms.


Chicken Tinga Tacos
from Food & Wine Magazine, December 2011

INGREDIENTS

1/4 cup plus 2 tablespoons extra-virgin olive oil
2 1/2 pounds trimmed, skinless, bone-in chicken thighs (I used boneless thighs)
Salt and freshly ground black pepper
1 large onion, thinly sliced
3 large garlic cloves, minced
One 28-ounce can diced tomatoes
2 canned chipotles in adobo, coarsely chopped (2 chipotles, not 2 cans)
1 cup chicken broth
12-24 corn tortillas
2 ounces Cotija cheese, crumbled
Sliced scallions and chopped cilantro, for garnish


DIRECTIONS

Heat 3 tablespoons of the olive oil in a large nonstick skillet. Season the chicken all over with salt and pepper, add it to the skillet and cook over moderately high heat, turning once, until browned, about 12 minutes. Transfer the chicken to a 9-by-13-inch baking dish and pour off the fat in the skillet.

Add the remaining 3 tablespoons of olive oil to the skillet along with the onion (I used the chicken drippings instead of the additional OO). Cook over moderately high heat, stirring occasionally, until the onion is lightly browned and softened, 5 minutes. Add the garlic and cook until fragrant, 2 minutes. Add the tomatoes and their juices, the chipotles and the broth and bring to a boil. Simmer over moderate heat, stirring occasionally, until thickened and slightly reduced, 20 minutes.

Preheat the oven to 350°. Transfer the sauce to a food processor and let cool for 15 minutes. Puree until smooth and season with salt and pepper. Pour the sauce over the chicken. Bake the chicken uncovered in the center of the oven for about 45 minutes, until the meat is tender and the sauce is very thick and darkened around the edges. Wrap the tortillas in foil and warm them in the oven for about 10 minutes.

Remove the chicken from the sauce and shred the meat; discard the bones. Return the chicken meat to the sauce. Spoon about 3 tablespoons of chicken onto each tortilla and sprinkle with the crumbled cheese. Garnish the chicken tacos with the scallions and chopped cilantro and serve hot.

MAKE AHEAD: The tinga can be refrigerated for up to 3 days and reheated gently.

11.29.2011

Lavender Shortbread

I have always been curious about edible flowers. I've seen them, heard of them, but have never eaten them, until now. A few weeks ago, at my local farmer's market, I came across lavender buds, and knew that I had to have them.


Lavender is typically used in fragrances, candles, and cleaning products. I would guess that most people are unaware that it is actually edible! I decided to purchase the purple flower and try it out in some shortbread cookies. Coincidentally, Joy the Baker had blogged about lavender cookies a few weeks before I had bought some, and decided I would use her take on the cookie.

The dough was easy to work with, smelled delicious, and tasted even better. These are the perfect tea cookies, and give your mouth a lovely feel and taste! I will most certainly be making them again, as they make me feel quite sophisticated and feel as though I could easily fit in among the British :)


Lavender Cookies
adapted from Joy the Baker

1 tablespoon dried lavender blossoms

1/2 cup plus 1 tablespoon raw turbinado sugar- I used granulated sugar for the cookies, but turbinado for the topping

1 cup (2 sticks) unsalted butter, at room temperature

2 1/2 cup all-purpose flour

1/4 teaspoon salt

1 eggs, beaten (for egg wash)

extra sugar for sprinkling on top (I used turbinado)

In a medium bowl, whisk together flour and salt. Set aside.

In a small spice grinder to grind up 1 tablespoon lavender and 1 tablespoon sugar. You could also use a mortar and pestle to grind the sugar and lavender together.

In the bowl of an electric stand mixer, fit with the paddle attachment add butter, ground lavender mixture, and remaining 1/2 cup sugar. Cream on medium speed until slightly more pale and fluffy, about 3-5 minutes. There will still be raw sugar bits floating around. Add the flour. Mix on low speed until dough comes together. The dough will be crumbly, then begin to form when it continues to mix- about 5 minutes. Dump dough mixture out onto a clean surface and form into a ball with your hands. Shape each ball into a tube. Wrap in plastic wrap and refrigerate for at least 30 minutes.

Line cookie sheets with parchment paper. Set aside.

Grab the dough out of the refrigerator, and slice into 1/4 inch slices. Use a fork to prick the tops of the cookies. Brush very lightly with egg wash and sprinkle with sugar. Refrigerate cookies while oven preheats.

Place racks in the center and upper third of the oven. Preheat oven to 350 degrees F. When oven is preheated, bake cookies for 8 to 11 minutes, until just browned around the edges. Mine erred on the 8 minute side. Remove from oven. Allow to cool on the cookie sheet for 10 minutes then remove to a wire rack to cool completely.

Cookies last, in an airtight container at room temprature, for up to 4-5 days.

11.08.2011

Baked Eggs with Sauteed Mushrooms & Spinach

In my home, eggs are typically a breakfast food or included in any baked good. They are not, however, often served at dinner, with vegetables. I was intrigued by a recipe in Food & Wine in the October issue that highlighted an egg dish made with spinach and mushrooms, and decided to try and incorporate it into one of our weekly meal plans.


At first, I could not understand why someone would want eggs at any other meal besides breakfast, but after devouring this delicious dinner, I totally get it. Eggs are meant for dinner too. The combination of wine soaked mushrooms and a sauteed kale (spinach if you'd like), is heavenly, and paired with some sunny side up eggs, the meal turns into a real winner. Additionally, this meal is quick to make, so it's a perfect weeknight dinner!


Food & Wine magazine has truly wowed me with their last few issues. I am certainly glad that I subscribe to it now, and most definitely will in the future, as long as the recipes are this great. Unfortunately, this will also mean my stack of magazines will not diminish any time soon. Any suggestions for keeping recipes from magazines in a more organized, less space taking way?


Baked Eggs over Sauteed Mushrooms & Spinach
adapted from Food & Wine Magazine

Ingredients
1 tablespoon olive oil
1 large leek, white and light green parts only, cut into 1/2-inch pieces- I used an onion
1 tablespoon unsalted butter
1 pound white or cremini mushrooms, thinly sliced (about 6 cups)
1 tablespoon soy sauce
1/4 cup dry red wine
5 ounces baby spinach- I used kale
Salt and freshly ground pepper
4 large eggs
4 slices of whole-grain toast

Preheat the oven to 350°. In a deep skillet, heat the olive oil. Add the leek and cook over moderate heat, stirring, until softened, about 3 minutes. Stir in the butter and mushrooms. Cover and cook, stirring occasionally, until the mushrooms are softened and most of the liquid is released, about 7-10 minutes. Uncover and add the soy sauce and red wine and cook over moderately high heat, stirring, until the liquid is reduced to 2 tablespoons, 5 minutes. Add the spinach (kale) and stir until wilted, 2 minutes. Season with salt and pepper.
Coat four 1-cup ramekins or small gratin dishes with oil. Transfer the mushrooms and spinach to the ramekins and crack an egg on top of each. At this step, I just kept my entire dish in my cast iron skillet, and cracked eggs on top. Bake for 10 to 12 minutes, until the white is barely set and the yolks are runny. Let stand for 2 minutes; serve with the toasts.

11.02.2011

Salted Caramels


I love salted caramels. Like LOVE. Like Super Duper LOVE them. The salty sweet combination is not only melt in your mouth delicious, but also addictive. Thankfully, this recipe makes more than I can possibly eat. I think.


I have never made salted caramels, and frankly did not want to even try to make them for fear of overeating them. This all changed when I received my swag bag at the Boston Brunchers Birthday Bash. The lovely little swag bag contained two different, beautiful cookbooks. One of them, the new Cook's Illustrated book, which hasn't even been opened yet,and the other, Salty Sweets, just begged me to open it. I have since made two recipes from this book, and both are extraordinary.


As soon as I turned to the Salted Caramels page, I knew I would be making them. I had some heavy cream waiting to be used, and a sweet tooth that needed to be satisfied. So my caramel making adventure began.


Caramel making can be tricky, and more importantly, the cook needs to always keep an eye on the hot liquid so that it does not burn. The directions in the book are very helpful, and ensure that the caramel will turn out well. A few words of caution though: always where shoes when making caramel in case the liquid splatters, keep stirring the pot to ensure even heating, and be prepared when the caramel bubbles profusely when the heavy cream mixture is added.


Overall, this recipe was very easy to make, as long as precautions are taken, and a careful eye is always on the pot. I suggest that you try it too! You'll love it, and more importantly, never have to buy caramels again!


Salted Caramels
from Salty Sweets, by Christie Matheson

1 cup heavy cream
5 tbsp unsalted butter, cut into pieces
1/2 tsp pure vanilla extract
1 tsp fine sea salt
1.5 cups sugar
2 tbsp light corn syrup
1/4 cup water
1 tsp fleur de sel

1. Line the sides and bottom of an 8 inch square baking dish with parchment paper. Lightly butter the parchment
2. Combine the sea salt, butter, cream and vanilla in a small saucepan, and bring to a boil over medium heat. Boil the mixture for roughly 4 minutes, and then remove from heat and set aside.
3. In a heavy medium sized saucepan (err on the larger side), combine the sugar, corn syrup, and water and bring to a boil over medium heat. Stir the mixture until the sugar is dissolved completely. Once the sugar is dissolved, boil without stirring- swirling the pan occasionally to keep the mixture cooking evenly- until it is a light amber color and the candy thermometer reads 340 degrees F. This should take about 7 minutes.
4. Turn the heat down to medium low, and carefully stir in the cream mixture. The addition of the cream will make everything foam a lot, so be prepared. Simmer the caramel, stirring often, until the it is 246 degrees F on the candy thermometer, about 6-8 minutes. The temperature may hover in the 200 to 220 range for a while, and then it will start to increase pretty quickly, so watch it carefully.
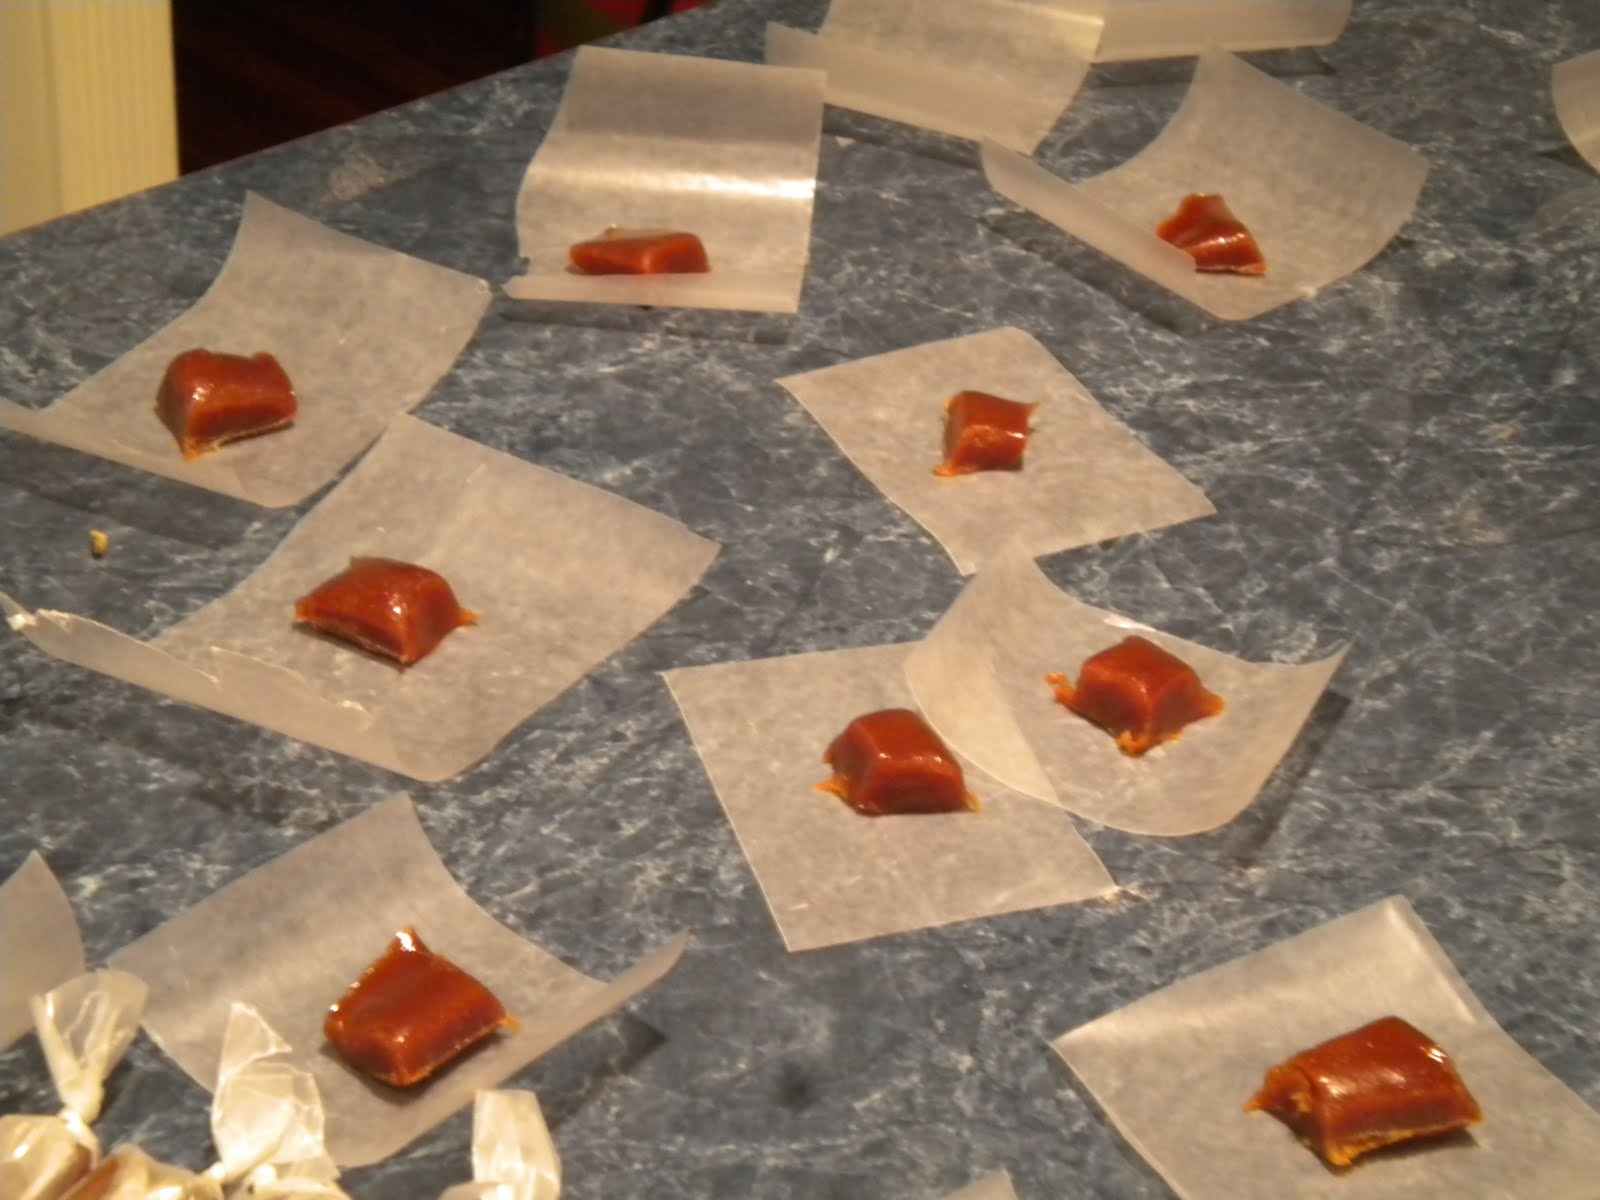
5. Stir in the fleur de sel, then pour the caramel into the prepared baking dish. Do not scrape the saucepan or you might get some burned bits that might be stuck to the bottom. Let the caramel cool for at least 3 hours. Cut the carmel into 1 inch squares and wrap each square in waxed paper or aluminum foil. The caramels will keep in an airtight container at room temperature for up to 1 week.

10.27.2011

Butternut Squash, Caramelized Onions and Blue Cheese Focaccia

Have you ever made focaccia? It's kind of a cross between a Sicilian bread crust and flat bread. The bread is made just like any other yeasted bread, and involves rising time, punching it down, and a second rise. Unfortunately, I do not get to make it as often as I would like, but recently I had the time to make it, and create a very seasonal focaccia pizza!


The dough is super easy to make, and more importantly, can be flexible to your schedule. I made the dough in my KitchenAid mixer (though I am sure you could do it in a food processor), and let it rise for about 4 hours, instead of the 2 hours instructed in the recipe. The reason for this being that my home is a little cooler, and I was gone during that 4 hour period. After arriving home, I stretched out the dough to fit a cookie sheet, placed it on it, and let the dough rise for a second time, which lasted about 2 hours.


I decided to top the focaccia with some seasonal veggies, including butternut squash and caramelized onions. I lasted put on some Great Hill Blue Cheese from Marion MA. If you have never tried Great Hill Blue, you definitely should. The cheese is terrific with a great balance of flavors that is not overpowering to first time blue cheese eaters.

After about 30 minutes, which seemed like an entirnity due to the delicious smells coming from the oven, I had myself a beautiful focaccia pizza! The crust and toppings tasted amazing together, and I will definitely be using this recipe again.


Rosemary and Olive Oil Focaccia Bread
Adapted from Flour Cookbook

1 3/4 cup warm water (about 110 degrees)
1 tsp active dry yeast
3 1/2 cup All Purpose flour
1 1/4 cup bread flour
3 tsp kosher salt
2 Tbs sugar
3/4 cup olive oil- I used less on the top of the focaccia as it seemed like a lot.
Cornmeal
2 Tbs Rosemary, roughly chopped- I used Thyme as that is what I had on hand

Combine the water and yeast together in the bowl of a standing mixer, and allow the yeast to start to dissolve, about one minute. Add the flours to the yeast mixture, 1 tsp of the salt, and sugar and turn the mixer on low, allowing the dough hook to bring the whole thing together. When the dough is a shaggy ball slowly drizzle 1/2 cup of the olive oil into the bowl. Continue to knead the dough with the mixer until it is a smooth ball - 4-5 minutes on a low speed. When the dough is smooth, turn the dough ball into an oiled smooth bowl. I use the same bowl- just take the dough ball out, spray with olive oil, and place back in. Cover the bowl with a lightly oiled piece of plastic wrap and let it rise somewhere warm (70-80 degrees) until doubled in volume, about 2 hours. For a cooler house, the rising will take longer. Once the dough has risen, turn it out onto a 10"x15" cookie sheet spread with cornmeal. Stretch the dough until it fills the cookie sheet and poke it with your fingertips. Brush the top of the focaccia dough with the 1/4 cup of olive oil (I used less) and sprinkle the salt and rosemary (sage) on top. You can put toppings on it now if you would like, or bake plain. Bake the focaccia at 425 degrees Fahrenheit for 30-40 minutes, until golden brown and puffed.

10.19.2011

Boston Brunchers at ICO Bar

On Sunday, I had the opportunity to dine once again with the Boston Brunchers for their 1 year anniversary at the Island Creek Oyster Bar in the Fenway neighborhood. Once again, the brunch was outstanding, the company fabulous, and the swag unreal!

A little background; The Boston Brunchers are a group of hungry eaters, bloggers, and tweeters who have monthly meet-ups at various brunch spots around Boston and the great Boston area. The group is typically given a sampling of a brunch menu at that specific restaurant, and later some members of the group may choose to review the experience. This benefits both the restaurant and the brunch eaters of Boston because everyone knows exactly what to expect at each restaurant.

Onto the dirty details! The ICO Bar generously hosted 40, that's right, 40 brunchers on Sunday and provided a delicious meal for all! We started with a choice of three available cocktails, followed by some house made pastries, and lastly finished off with a choice of brunch entree. The menu was as follows:

Drinks:
Bloody Mary- regular, extra spicy, or house
Red Beer- ICOB pilsner with homemade sangria
McCarthy's Crossing- Pear Brandy, Spiced Honey, Rose Vermouth, Bubbles, and Lemon


Pastries- blueberry muffins, doughnut muffins, cinnamon rolls, croissants, citrus scones, and raspberry coffee cakes


Main Course:
House Smoked Salmon with bagel, chive cream cheese, pea greens
Cinnamon French Toast with caramelized apples and toasted walnuts
House-made Baked Beans with slab bacon and a fried egg
Ethel's Lobster Roll with kettle chips, Cole slaw and on a rosemary roll


With a menu like this, it was certainly hard to choose what to eat. Thankfully, everyone that I ate with loved to share! My cocktail choice was the McCarthy's Crossing as it had sounded super unique, and I LOVED it! I am typically not a brandy lover, but the flavors of the drink melded so well together that I couldn't even tell that there was brandy in the drink. I tried both the citrus scone and cinnamon roll during the pastry round, and while I loved both, I happened to really like the citrus scone as it was refreshing yet sweet. Lastly, for the main course, I split my dish with Taryn, and we shared both the baked bean dish and the lobster roll. Both were outstanding! I only wish the baked bean dish had an additional egg so that there was more yolk to mix into the beans! Overall though, I would most certainly go back to ICO Bar. The food was great, service terrific, and restaurant decoration amazing!

Thank you to Boston Brunchers, ICO Bar, and all involved for hosting such a wonderful meal for so many to share! Thank you to the sponsors of our SWAG bags which included many wonderful and fun gadgets, books, and foods! To see the full list, check out the Boston Brunchers website.