8.31.2010

You Say Tomato, I say Tomato

Gardening 101. Step 1: Do not plant more than 4 zucchini plants. Step 2: 20 tomato plants for 2 people might be a little much. Step 3: Spiders scare some people (Jack), and you might end up doing all of the gardening.

Ahh the joys of having a garden. I have learned quite a lot this summer regarding veggies, fruits, and the nature of a garden. Most importantly, I learned that we over planted, and became a little less motivated as summer ticked away. Now the tomatoes are starting to come in full force, and quite frankly, my canning desires are slowly melting along with my body in this heat.

I blame you Massachusetts. Massachusetts, you lied to me. You and your New England ways with your advertised mild summers and lures of sea air, you begged me to move here during what has become one of the hottest, most humid summers ever.


Anyway, instead of canning, I decided to slow roast some tomatoes, as Molly had described in Orangette, and her book! She is a pretty bright gal, coming up with ideas such as low oven temperatures for 8 hours at a time. It's practically a meal taken care of overnight! I used about 2 pounds of Roma tomatoes that I had picked in my garden and received in my CSA, and cut them in half and placed them in the oven with a drizzle of OO and some good ol' S&P.

Recipe=easy, outcome=not what I expected. I thought that the tomatoes would magically appear all nice and dry and ready to be packed in oil. Instead they turned out to be a little moist, and shriveled. Regardless, they were pretty delicious. You can use them in anything. I happened to put them in eggs, on sandwiches, and in Ratatouille.

My recommendation is to definitely try this recipe out if you are lacking canning motivation. Simple, easy, and most important, Delicious!


Slow Roasted Tomatoes
Adapted from Orangette

2 pounds tomatoes, preferably Roma
3 tbsp OO, drizzled over halved tomatoes
S&P to taste
A pinch of basil or other spices

Halve tomatoes and place on baking sheet inside side up. It helps to put parchment paper on the baking sheet for easy cleanup later. Drizzle OO, S&P and other spices over tomatoes. Place in oven for 6-8 hours at 200 degrees. Eat and enjoy!

8.23.2010

Breakfast Buns

A few months ago I posted about a breakfast I hosted at work, which entails feeding 20 hungry finance folks. This month, I had the chance to do it again. This time I decided to do a few more healthy items, as well as some not so healthy treats. So of course I am going to write about the not so healthy ones. Who wouldn't want to hear about Orange Cinnamon Honey Sticky Buns or Peaches and Cream muffins?


I really wanted to make a form of sticky buns because they remind me of the shore because my family always gets them. I am not always a lover of the white cream cheese frosting on most buns, so I looked for something different, and found the Orange Cinnamon Honey variety. I will admit, they do take some work, but most of the recipe is inactive as the dough has to rise twice (though the second time is overnight). The buns were absolutely phenomenal. They were loved by all, including myself. The owey gooey orange flavor really helped enhance the cinnamon, and the honey was just the right touch of sweetness. The only downside to the whole recipe? The amount of effort I had to put into not eating the entire dish!


Along with the sticky buns I made Emeril's peaches and cream muffins. The recipe was fantastic, and the muffins soft and creamy. I did make a mistake in the peaches though. I did not realize that they needed to be peeled prior to baking, and the peel turned blue in the oven! My muffins looked like they were moldy. Regardless, they were still delicious.


Overall the breakfast was a hit, and the hard work was totally worth it. My favorite part about cooking is giving such a great gift to another, and seeing the joy on their face. I will definitely be using both of these recipes again, and recommend trying them out!

Orange Honey Cinnamon Buns, Adapted from 17 and Baking
Peaches and Cream Muffins, Adapted from Emeril Lagasse

8.15.2010

Radishes, Eggplant, and Blogs

Last week my good friend Taylor posted an excellent recipe on her blog, One Recipe at a Time, involving eggplant and pasta. The pictures looked fantastic, and the recipe rather quick and easy for a good work-night meal.

Jack happens to love eggplant, and decided to try out her recipe. He sauteed the veggie while I made the pasta in the KitchenAid (boy do I love my KitchenAid!). In the meantime, I decided to make some braised radishes from Mark Bittman's cookbook. I had tried them once before, but burned them terribly. I decided that it was time to try again, and I am certainly glad I did. The radishes combined superbly with the butter and white wine. They caramelized during the process making the radishes taste like flowers of the earth rather than the slightly bitter root vegetable that it is. My mouth smiled when the radishes touched my tongue. Jack laughed at my enjoyment and the site of my face when I was eating it.


But back to Taylor's recipe. It turned out really well, and was very filling. The recipe was a great way to combine eggplant and pasta, while still showcasing some of the flavors of the basil and other herbs. The dish was just as tasty the next day as leftovers. Kudos to her recipe and her blog!


Braised Radishes-"How to Cook Everything" by Mark Bittman

2 tbsp butter or EVOO
1 lb of radishes, trimmed
1/2c stock or white wine (I used white wine)
Salt/Pepper
Parsley for garnish

1. Combine butter or oil, radishes and stock in a saucepan, sprinkle with salt and pepper, and bring to boil. Cover and adjust the heat so the mixture simmers; cook until radishes are tender, 15-20 minutes.
**Be sure to keep an eye on the simmering as you do not want the radishes to burn
2. Uncover and raise the heat to boil off almost al of the liquid so that the vegetable becomes glazed in the liquid mixture.
3. Serve and garnish with parsley

8.09.2010

Purple Potatoes??

Our CSA always gives us quite a variety of vegetables and fruit. While the list of goodies is sent every Sunday, more often than not, there is always one or two additional surprises to the share. I must say that it is always fun to see something new, and try to figure out how to cook the new veggie, or rather, how to enjoy it to its fullest potential.


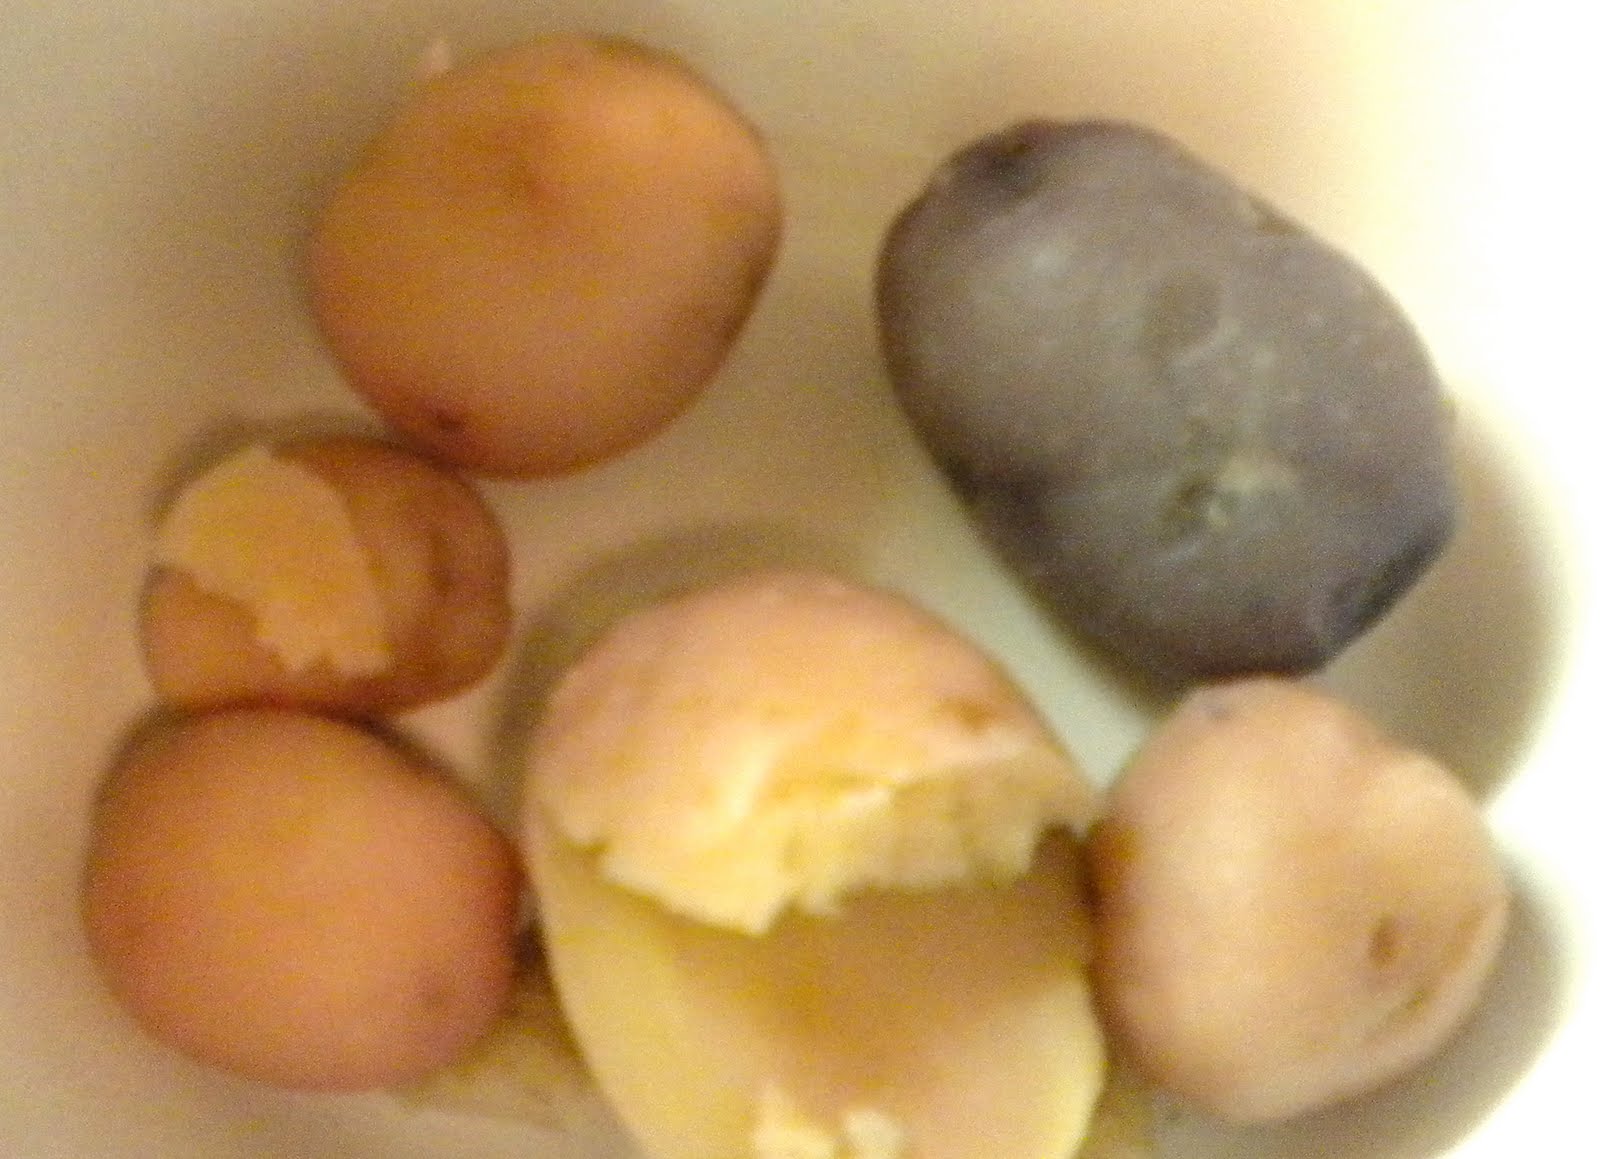
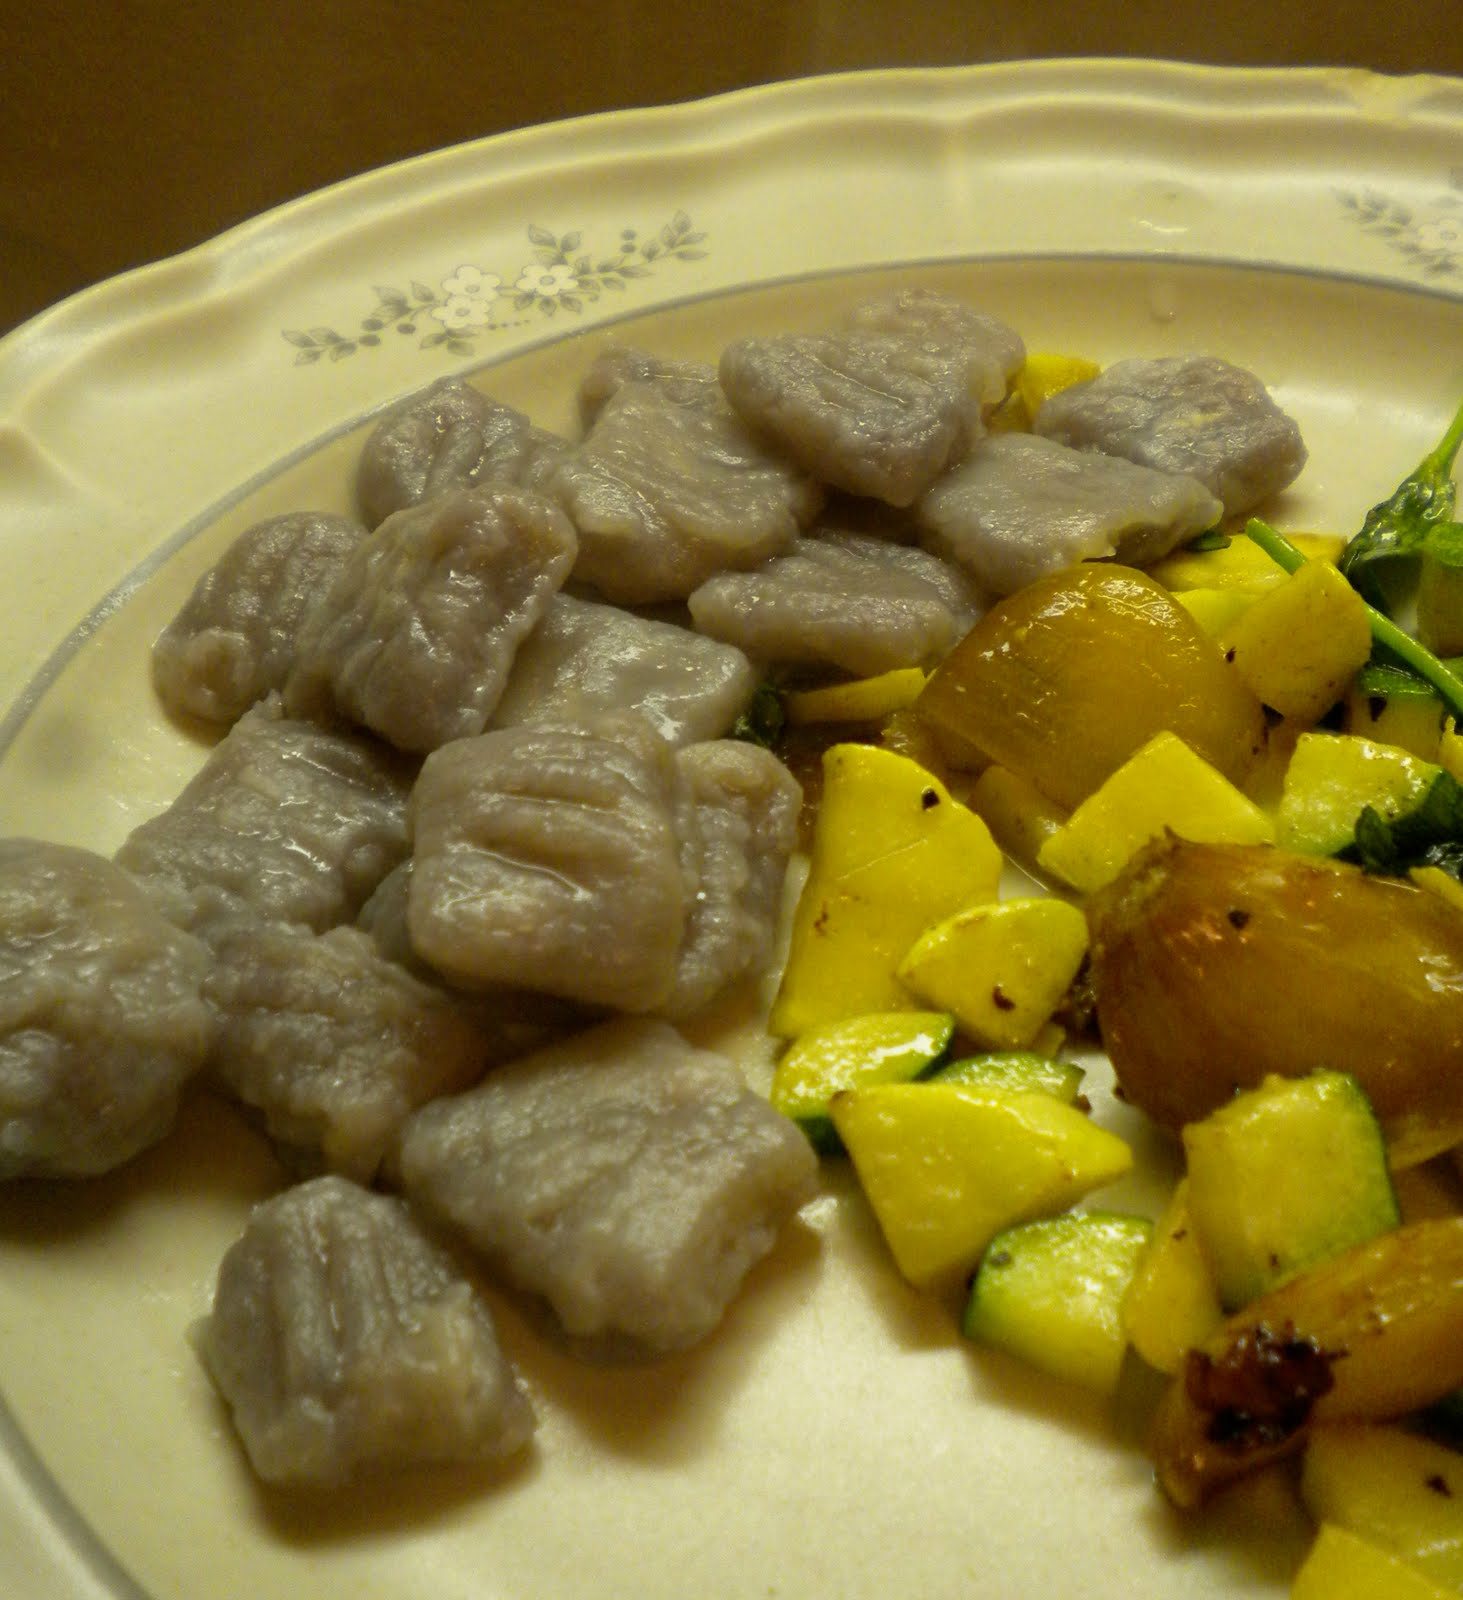
A few months ago, I read a post on a blog that I once read, Sucre et Sel d'Angy, about purple gnocchi. It was about the time I first tried my basil gnocchi, and I really wanted to find these indigo looking root veggie. Unfortunately, they did not really exist in the northeast because most consumers are turned off by the color. Potatoes are supposed to be white, or so the majority of America believes. Barbara Kingsolver taught me otherwise in her famous book, Animal, Vegetable, Miracle. I thank her for telling me about the plethora of potatoes available in the world, and how Americans adapted to only liking the standard Russet or Yukon Gold.


I digress. I decided to try the gnocchi, but follow the original gnocchi recipe that I used before- potatoes, flour, and salt. Easy enough, that is for sure. However, while the recipe was easy, it did require a significant amount more of flour. It certainly didn't bother me though- I was amped about eating a purple pasta.


The gnocchi turned out great. I doused them with a little olive oil and parm cheese, and knowing me, added a lot of garlic. I served it with a few of our other CSA veggies of the week. Lucky for me, I even have some leftovers in the freezer!

You can find the recipe here. Just omit the basil.

8.02.2010

CSA Scramble

Every Sunday Jack and I look forward to an email from Kettle Pond Farm denoting our upcoming CSA share for the week. Each week typically introduces something new from the week before, and sometimes, something new even for us. We try to plan our weekly meals around our share, but that does not always work due to timing. When that happens, we always designate one night to be a "CSA Scramble." We try to come up with a recipe that will use at least 1 item from the share, but the more, the merrier.


Last week we received quite a lot of veggies in our share, which would be great under any other circumstance but our own. We had a share pick up of Monday night, and a planned shore getaway with my family on a Tuesday night, leaving us one night to try to eat our share in one mass quantity. We made three different types of pestos, cooked one dinner, and decided to bring tomatoes with us to my parents. I decided that it would be best to keep our 1.5 lbs of potatoes behind as they usually keep well for a long time.


While we were not 100% successful in using every item from the CSA, we did use our regular and Chinese eggplant, kale, and spices in a Sauteed Kale and Eggplant recipe from Mark Bittman. The dish was surprisingly delicious, and even better the next day as leftovers, as the flavors had melded together better. The recipe was very simple to put together, and took significantly less time to cook than anticipated. I loved the way that the bitterness of some of the kale offset the savoriness of eggplant.


Mark Bittman certainly came through in a pinch. His cookbook, "How to Cook Everything," is quite a fabulous cookbook, especially for beginners like me. I recommend it for any cook, but especially first timers. You can purchase it here, or look for them at Williams Sonoma- the outlet usually has them half price!

Sauteed Eggplant with Greens, adapted from Mark Bittman

1.5-2lbs eggplant
Salt
1/3c EVOO
1 tbsp minced garlic (I used roasted garlic I had saved)
Black Pepper
1/4c chopped basil leaves
1 lb of Kale or Chard (I used about half of that)

1. Peel the eggplant is skin is think, and slice into 1/2 inch cubes. Salt them if time allows
2. Put EVOO and all but 1 tsp of garlic in large skillet over medium heat. Two minutes later, add eggplant. Stir and toss almost constantly until eggplant begins to release some of the absorbed oil, roughly 5 minutes
3. Continue cooking eggplant, stirring frequently about 30 minutes. About halfway through the 30 minutes, add the kale or chard. Add additional olive oil if necessary. (This whole step took me only 15 min because of the heat of the kitchen)
4. Sprinkle with Parm. cheese and pepper. Serve as side dish or topping for pasta/rice.

7.25.2010

Berry Fun Picking

Last Weekend on our mini tour of northern Vermont, Jack and I stumbled upon a berry picking farm. We were hesitant to stop, or rather I was, because it was so warm outside, and neither of us had a particularly good night of sleep (note to self-prepare better for camping on solid ground). Fortunately Jack was in a nice and generous mood, and decided it would be worth it for us to stop.


Thank you Jack- this had to be one of my very favorite berry picking excursions, and not even because the berries were delicious. The place was called Charlotte Berry Farm,and they had lovely red raspberries and a variety of blueberries to pick. The raspberries were nearing the end of the season, so the pickings were slim, but it was fun nonetheless. I was most surprised that their red raspberries were almost done, and we hadn't even seen any in Mass yet.


The reason I am telling a story about berry picking is not so much for the berries themselves, though they were delicious. Rather, the farm was simply amazing. The farmhouse was a palette of pastels, figments of little girls' imaginations, and big girls' secret desires. There were flowers, and a baked goods area, and to top it off, a little girl having a tea party with her teddy bear. I fell in love at first sight.


I believe I have a hidden desire to be a little kid again, to experience the tea parties and colors and beauty of childhood, as it all too quickly passed. Thankfully, the Charlotte Berry Farm offered me the chance to relive my little girl desires. I only hope to return to this place, or create one just like it wherever life takes me. Until then, I will cherish that morning, and remember it for years to come.


Ohhh, and what came of the 4 pounds of berries you might ask? We made about 7 jars of raspberry jam to be featured in some of our family and close friends' Christmas gifts!

7.20.2010

A Little Food Tour

Moving to Massachusetts offered both Jack and I the opportunity to travel to a whole slew of new places that would be within driving distance in the New England area. One place that I had a hankering to go see since I was a little bit younger was Burlington VT- home of hipsters, great beer, and most importantly, close to Ben & Jerry’s and Cabot Creamery.

We figured that no time was like the present, you know, a weekend that began late as I had to work long hours, a lovely car ride that turned into a nightmare because of lake traffic, and oh yeah, Jack nearly missing hitting a cop car on I-89. Yeah it a weekend in VT started like that. We decided to rent a camp site in a state park called Mt. Philo, which is about 10 miles south of Burlington. It was our first time camping together, and it certainly started off poorly, what with the traffic and all, and of course no real place to put a tent, and the inability to start a campfire.

Nevertheless, Saturday morning started off much better than Friday night ended up. We began our morning with a cup of coffee at a local shop in Shelburne, VT, followed by a visit to the local farmer’s market for some breakfast (which was in addition to the lovely blueberry muffins I made). Surprisingly enough, they can sell wine at farmer’s markets in Vermont! We did a little wine tasting, then began our day long tour of Cabot, Ben & Jerry’s and Magic Hat.

Cabot Creamery was incredible, mostly because I am a cheese lover, and probably because they had unlimited samples of about 20 kinds of cheese. My cholesterol took a turn for the worse after that visit. Cabot allowed us to try their new flavors for the year- Wasabi Cheddar and Chipotle Chedder. Delicious, especially the Wasabi variety. The Co-Op is owned by all dairy farmers, and includes about 35% of all dairy farmers in VT. It’s a great little company with terrific cheese. Try their Private Stock cheddar- simply amazing!


After Cabot, we were recommended to visit a little winery off a 10 mile dirt road that offered local wines that were a little non-traditional. Instead of grapes, they used local fruits to ferment their wine. Grapes do not grow very well in VT because of the climate, but that did not stop this winery from producing. My favorite was a Cranberry wine and a Raspberry Apple Wine.


Next up- Ben & Jerry’s, after a small detour to Waterbury VT for lunch and a little summer Arts festival. I had been to Ben & Jerry’s before, but Jack had not, so it was a whole new experience for him. The place was packed which made for a rather crappy tour, but the ice cream was good, and that’s all that mattered. We sampled one of their newer flavors, Milk and Cookies, which is pretty good. It’s no half baked or S’mores though. And most certainly no Goodbye Yellow Brickle Road.


I digress. Anyway, last on our food touring agenda was Magic Hat Brewery. The tour was ehhh, but a video they played during the tour was great. It spoke about the history of beer, and more importantly, Craft Beer. Craft Beer is making quite a name for itself these days because it is made with all good intentions in mind- without desire to sell to the masses, rather to sell good quality beer to those who desire it. The tasting was fabulous- unlimited and full of non-traditional and well known brews. My favorite was one that involved some Ginger. Look for it in Magic Hat’s variety packs.

Overall, the trip to Vermont was a grand success. I am pretty sure I am destined to live there. I love the laid back culture with its emphasis on good food, good beers and wine, good treatment of the environment and farmers and most importantly, good people. I am sure you will be hearing aobut another adventure where I drag Jack there again- this time for Moose witnessing and chocolate factory touring!